by Mark Gavin
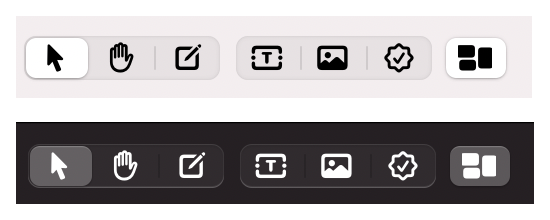
The MacOS now includes several sets of fonts containing user interface symbols called “SF Symbols”.
These are sets of very clean and well organized user interface graphics which can be used for desktop and mobile applications. The limitation on using these font elements on desktop is they are currently only shipped with MacOS Big Sur. To use these “characters” on older versions of the MacOS they need to be saved as image files in at least 3 different sizes. In addition, if you want to support Dark Mode on the Mac you will also need to save a completely different set of images for Dark Mode.
For each “character” I need to save 6 image files to support different screen resolutions and Dark Mode.
So, for my application toolbar buttons I need the following based on characer point size :
13 point Black
13 point White
26 point Black 2x
26 point White 2x
39 point Black 3x
39 point White 3x
To simplify the process and eliminate any human error I wrote a simple script which uses ImageMagick to convert the characters to the 6 different individual image files. The input to the script is a text file called “symbols.txt” where each line of the file contains the character itself followed by the filename to be used for the image file. These two pieces are separated by a “|” character in the text file.
Following is a snippet of the the “symbols.txt” file:
|arrowLeft |arrowLeftLine |arrowRightLine |arrowRight
Following is the script file:
file=symbols.txt
# set the Internal Field Separator to |
IFS='|'
while read -r theSymbol theFileName
do
	printf "#Convert %s to file %s \n" $theSymbol ${theFileName}

	convert -background none -font /Library/Fonts/SF-Pro-Display-Bold.otf -fill black  -pointsize 13 -gravity "center" -size "17x17"  label:"$theSymbol" +repage -depth 8 ${theFileName}B.png
	convert -background none -font /Library/Fonts/SF-Pro-Display-Bold.otf -fill white  -pointsize 13 -gravity "center" -size "17x17"  label:"$theSymbol" +repage -depth 8 ${theFileName}W.png

	convert -background none -font /Library/Fonts/SF-Pro-Display-Bold.otf -fill black  -pointsize 26 -gravity "center" -size "34x34"  label:"$theSymbol" +repage -depth 8 ${theFileName}B@2x.png
	convert -background none -font /Library/Fonts/SF-Pro-Display-Bold.otf -fill white  -pointsize 26 -gravity "center" -size "34x34"  label:"$theSymbol" +repage -depth 8 ${theFileName}W@2x.png

	convert -background none -font /Library/Fonts/SF-Pro-Display-Bold.otf -fill black  -pointsize 39 -gravity "center" -size "51x51"  label:"$theSymbol" +repage -depth 8 ${theFileName}B@3x.png
	convert -background none -font /Library/Fonts/SF-Pro-Display-Bold.otf -fill white  -pointsize 39 -gravity "center" -size "51x51"  label:"$theSymbol" +repage -depth 8 ${theFileName}W@3x.png

done < "$file"
For the application I’m working on I needed to use 23 separate characters. The font pointsize and output image sizes were selected based on the toolbar controls I am using.